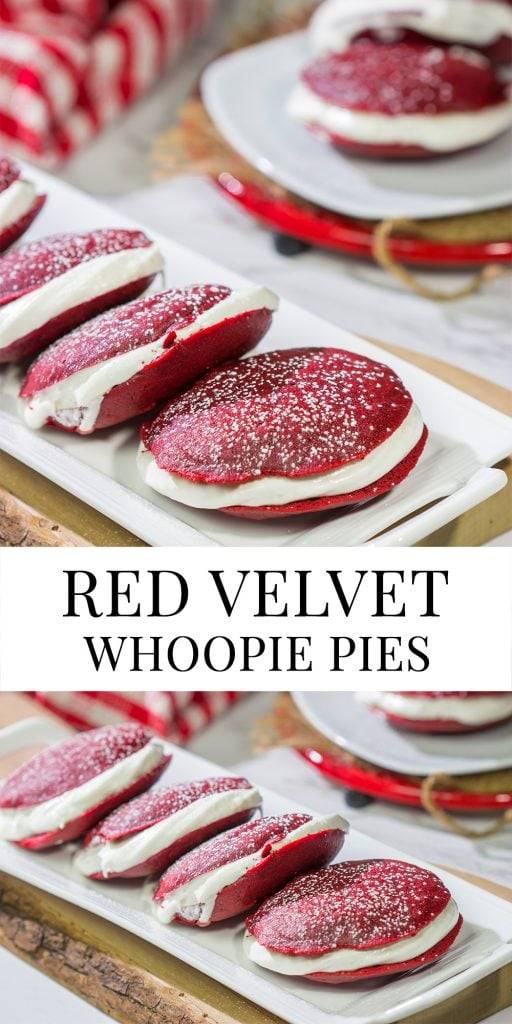
Put a red velvet spin on a classic baked treat! These Red Velvet Whoopie Pies are filled with a marshmallow cream cheese frosting – they're delicious!
5 from 5 votes
Prep Time: 20 minutesminutes
Cook Time: 15 minutesminutes
Total Time: 35 minutesminutes
Servings: 12whoopie pies
Calories: 351kcal
For the Frosting¼cupsoftened4oz.softened1¾cupsconfectioner’s sugar1¾cupsmarshmallow fluff1tsp
Preheat oven to 350°F.
Using a small bowl, whisk together flour, cocoa powder, baking powder and salt; set mixture aside.
Using an electric mixer, cream together butter and sugar until light and fluffy (~3-4 minutes on medium speed).
Add egg; mix on low speed until well combined.
Add half of the flour mixture; mix on low speed until well combined.
Add the buttermilk, vanilla extract, food coloring and vinegar; mix on low speed until well combined.
Add remaining flour mixture; mix on low speed until well combined.
Spray 2 parchment-lined sheet pans with non-stick baking spray. Spoon ~2 Tbsp mounds of batter onto pans. (Note: Leave ~1” in between mounds of batter.)
Bake for 112-15 minutes, or until tops of the cakes spring back when touched.
Let cakes cool completely.
Using an electric mixer, beat the butter and cream cheese together until smooth.
Add the confectioner’s sugar, marshmallow fluff and vanilla extract; beat on medium speed for 2-3 minutes, or until smooth.
Spread the frosting onto the flat side of one cake.
(Tip: For a smoother look, pipe the frosting on top of the cakes using a pastry bag fitted with a large round tip.)
Lay another cake on top, flat-side down.
Repeat process with remaining cakes and frostings.
Assembled whoopie pies can be stored at room temperature for 3 days. If you need to stack them, place a piece of wax paper in between each layer.