Channeling that red and green theme, I hit the kitchen last week and made a batch of red and green Christmas Sugar Cookies. I’ve made these cookies several times with different colors – I even . It’s an easy, classic sugar cookie recipe that you can easily adapt based on the season. Want to make ’em Valentine’s Day cookies? Use pink and red. Halloween? Orange and black.
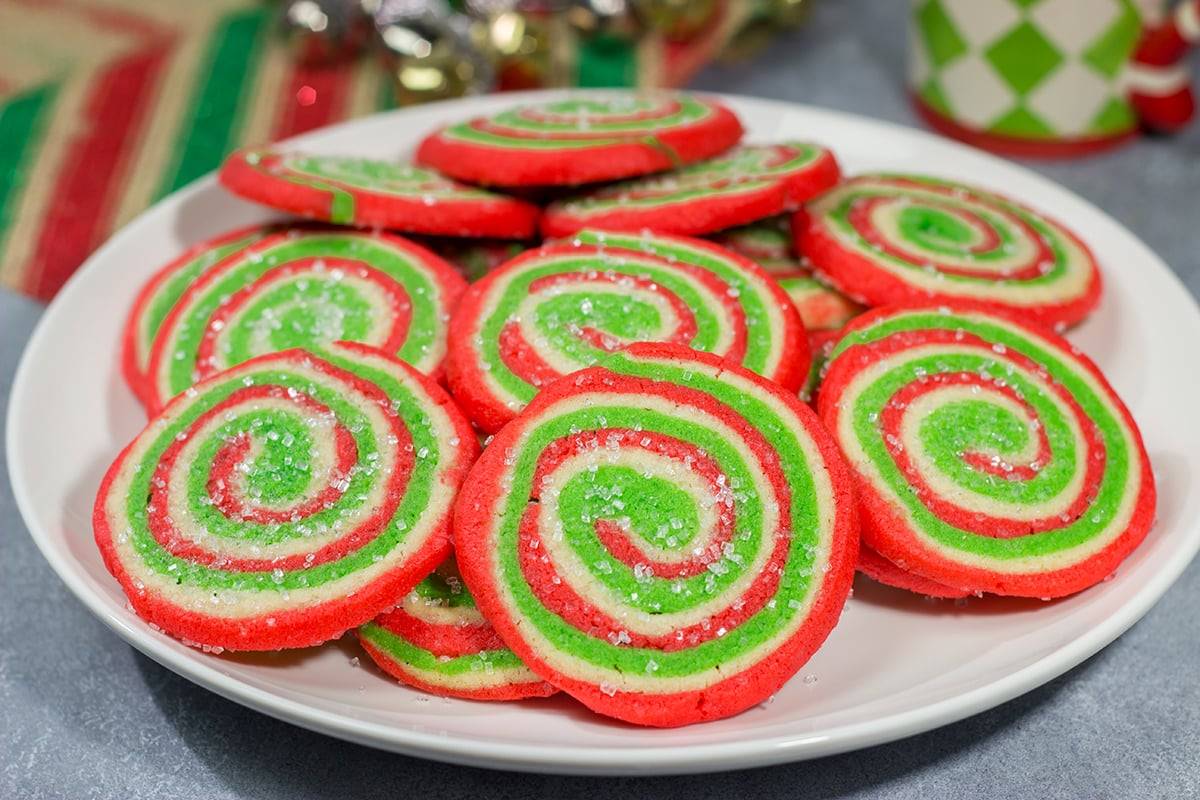
In my mind, the key to these cookies is the generous sprinkling of sanding sugar that goes on top before they are baked.
Sanding sugar is coarser than traditional sugar, so it adds a bit of a crunch to the top of the cookies. So good! to top everything from cookies to blueberry muffins.
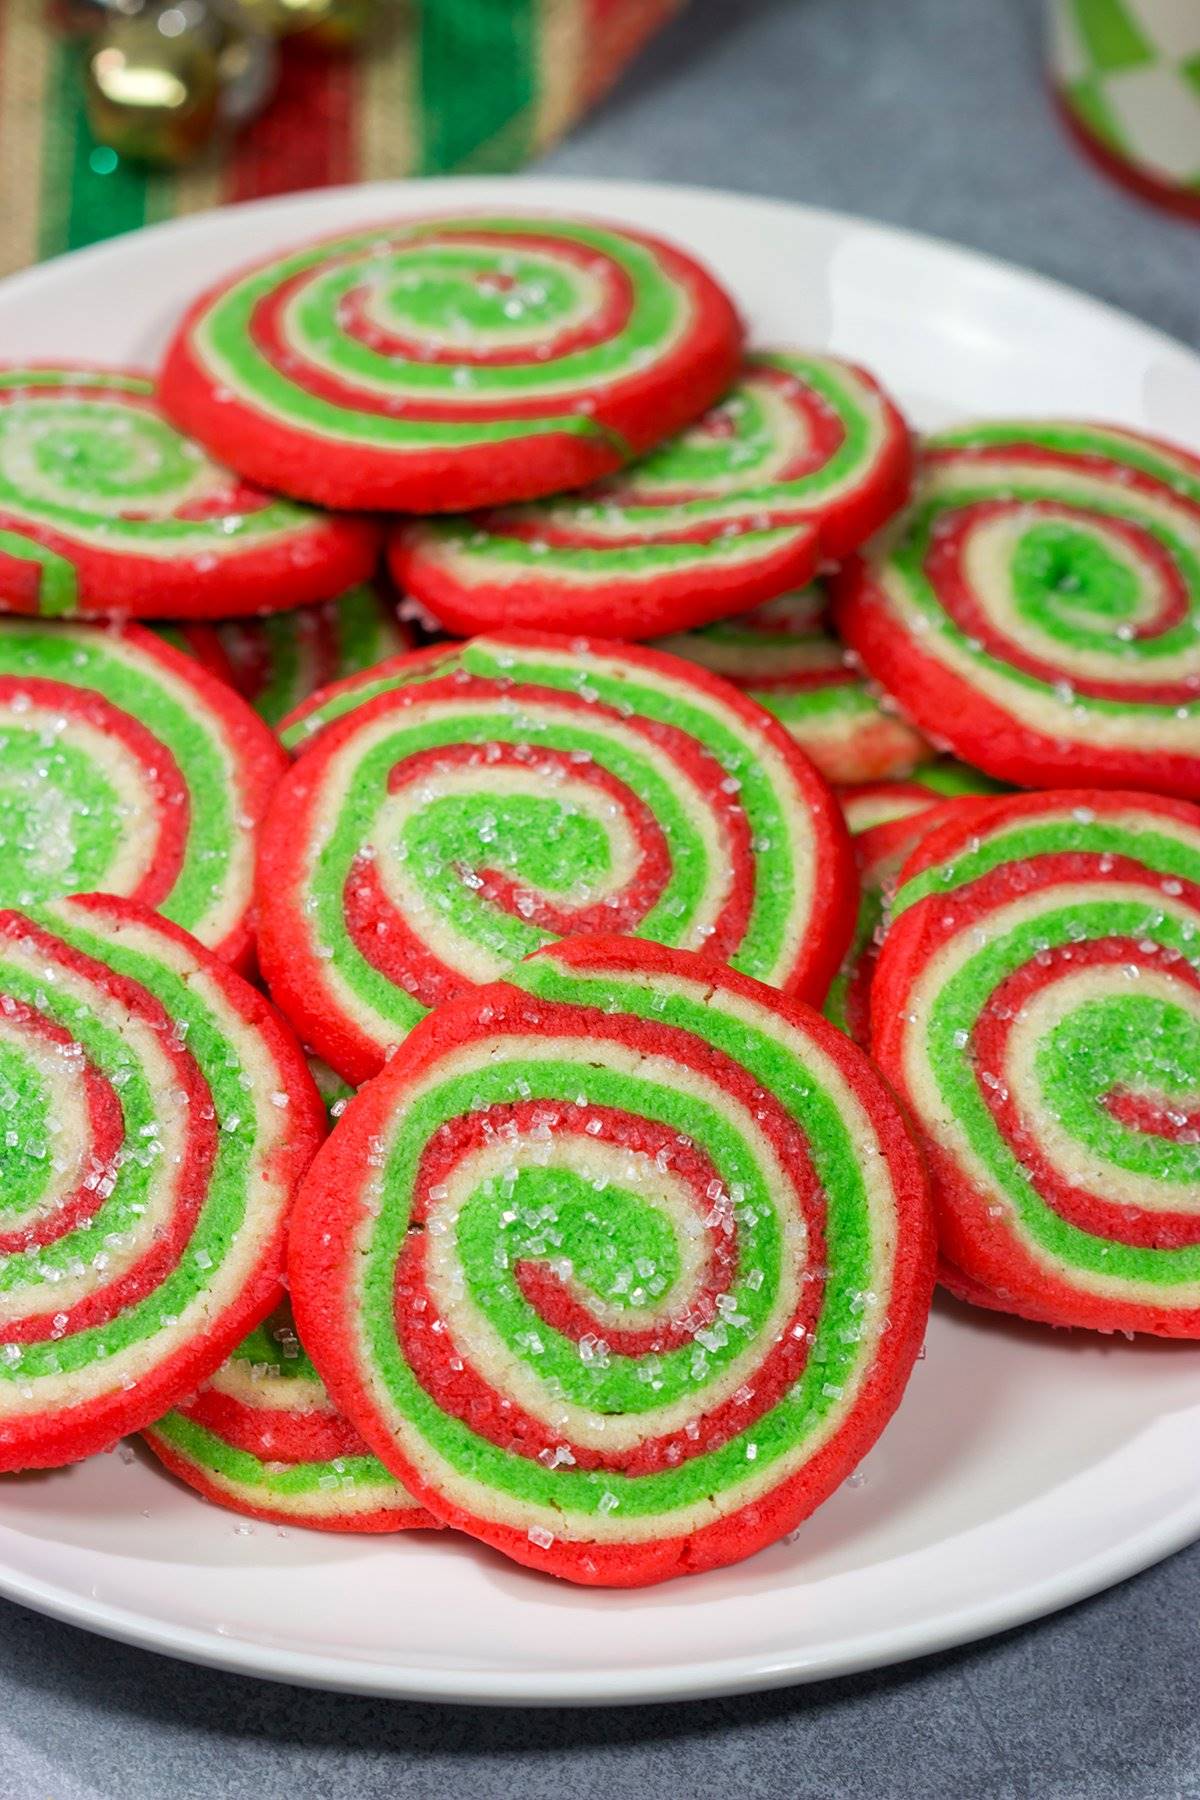
These Christmas Sugar Cookies do take a bit of time to make – but most of the time is just chilling the dough. The actual amount of work to make these cookies is rather minimal. These cookies are an all-butter sugar cookie, so the dough will become quite soft as you work with it. In order to keep the spiral look of these cookies, it’s important that the dough stays cold…so send that dough off to the fridge after each round of work!
These cookies didn’t last long around here. I’ll have to make another batch to leave some out for Santa! I hope you enjoy these cookies as much as we did in our house. Happy Holidays!

Featuring a fun red and green swirl, this Christmas Sugar Cookies are a festive (and delicious!) way to enjoy the holiday season!
5 from 6 votes
Prep Time: 45 minutesminutes
Cook Time:
15 minutesminutes
Refrigeration Time: 2 hourshours30 minutesminutes
Total Time: 3 hourshours30 minutesminutes
Servings: 36cookies
Calories: 78kcal
¾cuproom temperature¾cup11tsp½tsp2cups¾tsp¼tspred food coloringsee notegreen food coloringSanding sugarfor decorating
Using an electric mixer, cream together butter and sugar until light and fluffy (3-4 minutes on medium-high speed).
Add egg, vanilla extract and almond extract; mix on low speed until well combined.
Add flour, baking powder and salt; mix on low speed until well combined.
Divide the dough into 3 equal pieces.
Place 1 piece back in mixer bowl and add several drops of red food gel; mix until color is uniform throughout dough.
Repeat process using another piece of dough and the green food gel. (Note: The 3rd piece of dough does not get colored.)
Press each piece of dough into 4” squares and cover each piece individually with plastic wrap. Refrigerate for 1 hour.
Remove one piece of dough and place between 2 sheets of wax paper. Roll dough into a 9”x12” rectangle. Repeat process with the remaining 2 pieces of dough. Refrigerate dough (still between sheets of wax paper) for 30 more minutes.
Remove all 3 pieces of dough from refrigerator.
Peel top layer of wax paper off each piece and discard.
Flip the piece of plain dough on top of the red dough; remove wax paper. Flip the piece of green dough on top of the plain dough; remove wax paper.
Cut the stacked dough crosswise to create (2) 4.5”x12” stacks of dough. Roll each of the stacks into a tight log lengthwise. Place on parchment-lined sheet pan and cover lightly with plastic wrap. Refrigerate for 1 hour.
Preheat oven to 350°F.
Line 2 baking sheets with parchment paper.
Using a serrated knife, slice each log into ¼” rounds. Place each round onto prepared baking sheet. Sprinkle tops of cookies generously with sanding sugar.
(Note: If dough is too soft, refrigerate for another 30 minutes.)
Bake for 12-15 minutes, or until the edges of the cookies just begin to turn brown.
Let cookies cool on pans for 10 minutes and then transfer to cooling racks until completely cooled.
